There's something undeniably magical about transforming raw green coffee beans into aromatic, perfectly roasted gems right in your own kitchen. Learning how to roast coffee beans at home isn't just about saving money—it's about taking complete control of your coffee's flavor profile, freshness, and character. Whether you're seeking to deepen your appreciation for specialty coffee or simply curious about roasting coffee beans at home, this guide will walk you through everything you need to know to get started.
Home roasting might sound intimidating, but it's more accessible than you think. With minimal equipment and a bit of patience, you can create fresh-roasted coffee that rivals your favorite café. Throughout this home coffee roasting guide, we'll explore the essential methods, timelines, and techniques that transform beginners into confident home roasters. And when you're ready to elevate your entire coffee experience, the right tools from Rethink Cafe will make every step smoother.
What You Need to Get Started
Before diving into your first roast, let's cover the basics. The beauty of DIY coffee roasting is that you can start simple and expand your setup over time.
Essential Supplies
- Green coffee beans – Sourced from specialty suppliers, these unroasted beans are your raw material
- A heat source – Your stovetop, oven, or even a hot air popcorn popper
- A metal colander – For cooling beans quickly after roasting
- Heat-resistant gloves – Safety first when handling hot equipment
- Storage containers – Airtight containers with one-way valves for degassing
Many beginners start with equipment they already own. The key is understanding that green coffee beans home roasting doesn't require a commercial roaster to achieve delicious results.
Understanding the Coffee Roasting Process
Coffee roasting is essentially a controlled application of heat that triggers chemical reactions within the beans. As temperature rises, moisture evaporates, sugars caramelize, and hundreds of aromatic compounds develop. Understanding these stages helps you make informed decisions about roast levels.
The Stages of Roasting
- Drying phase (0-4 minutes) – Beans lose remaining moisture and turn from green to yellow
- Browning phase (4-8 minutes) – Sugars begin to caramelize, creating complex flavors
- First crack (8-12 minutes) – Beans expand audibly and release pressure; light to medium roasts achieved here
- Development phase – Post-crack roasting time determines final roast level
- Second crack (optional) – For dark roasts; beans begin to carbonize
Each stage contributes distinct flavor characteristics. Light roasts preserve origin flavors and bright acidity, while darker roasts develop bold, smoky notes with reduced acidity.
Coffee Roasting Methods for Beginners
When exploring coffee roasting methods, three approaches dominate the home roasting landscape. Each offers distinct advantages depending on your budget, space, and desired batch size.

Pan Roasting (Stovetop Method)
The most accessible entry point for beginners wanting to pan roast coffee beans. You'll need a heavy-bottomed skillet or whirley pop popcorn maker, a wooden spoon, and consistent stirring for 8-15 minutes.
Pros: No special equipment needed, excellent for learning roast development visually
Cons: Uneven roasting possible without constant agitation, smaller batch sizes
Oven Roasting
Using a perforated baking sheet, spread green beans in a single layer and roast at 450-500°F. Stir every 3-4 minutes for even heat distribution.
Pros: Larger batches than stovetop, hands-off monitoring between stirs
Cons: Less control over heat, can produce smoke
Hot Air Popcorn Popper
Many home roasters' secret weapon. The continuous hot air circulation creates remarkably even roasts with minimal effort.
Pros: Fast roasting (6-8 minutes), consistent results, minimal equipment cost
Cons: Small batch sizes, limited to light and medium roasts
The Roasting Timeline
A common question among beginners is how long does it take to roast coffee beans. The answer depends on your method and desired roast level.
Quick Reference: Most home roasting methods take between 8 to 20 minutes from start to finish, with the critical flavor development happening in the final 2-4 minutes before reaching your target roast level.
| Method | Approximate Time | Best For |
|---|---|---|
| Hot Air Popper | 6-8 minutes | Light to Medium roasts |
| Pan Roasting | 10-15 minutes | Full range of roast levels |
| Oven Roasting | 15-20 minutes | Medium to Dark roasts |
The key is listening—literally. Your ears will tell you when you've reached critical milestones that define your roast's character.
First Crack and Second Crack Explained
What is first crack in coffee roasting? It's the moment when water vapor and built-up pressure cause the bean's cell structure to fracture audibly. Sounding similar to popcorn popping (though less vigorous), first crack signals that your beans have reached a light roast level.
This milestone is crucial because it marks the beginning of what roasters call the "development phase." You can choose to drop the roast immediately for bright, acidic light roasts, or continue developing for 30 seconds to 2 minutes for balanced medium roasts.
Second crack occurs several minutes after first crack and sounds more like Rice Krispies in milk— quieter and faster. This indicates the bean's cellular structure is breaking down further, releasing oils to the surface and creating the bold, smoky flavors characteristic of dark roasts.

Cooling and Storage Best Practices
The moment you achieve your desired roast level, cooling becomes critical. Beans continue cooking from residual heat, so rapid cooling halts the process and locks in your intended flavor profile.
Cooling Methods:
- Pour beans between two metal colanders outdoors (also removes chaff)
- Use a fan while stirring beans in a wide tray
- Cooling attachments for dedicated home roasters
How to Store Freshly Roasted Coffee
Answering how do I store freshly roasted coffee beans properly ensures your hard work pays off in every cup. Freshly roasted coffee releases CO2 for 24-72 hours (degassing) before it stabilizes.
Storage Guidelines:
- Wait 12-24 hours before brewing for optimal flavor
- Use airtight containers with one-way valves to allow degassing without oxygen exposure
- Store in a cool, dark place—never refrigerate or freeze immediately after roasting
- Consume within 2-4 weeks for peak freshness
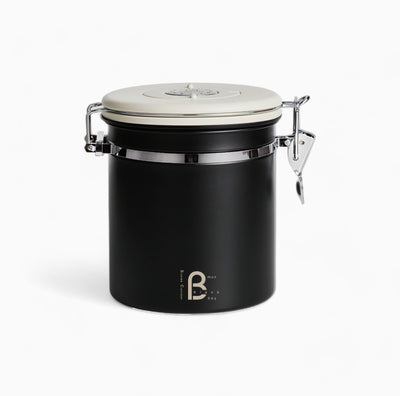
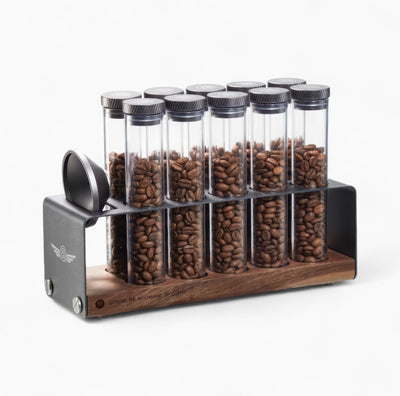
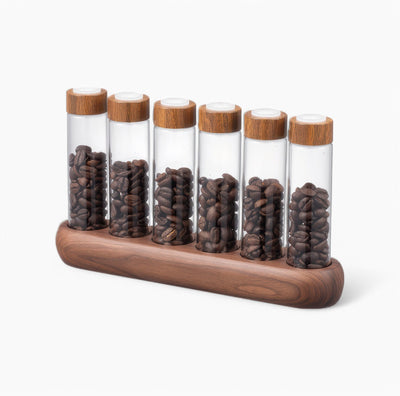
Premium storage solutions help preserve the nuanced flavors you've carefully developed. Consider investing in purpose-built coffee canisters that protect your beans from their four enemies: air, moisture, heat, and light.

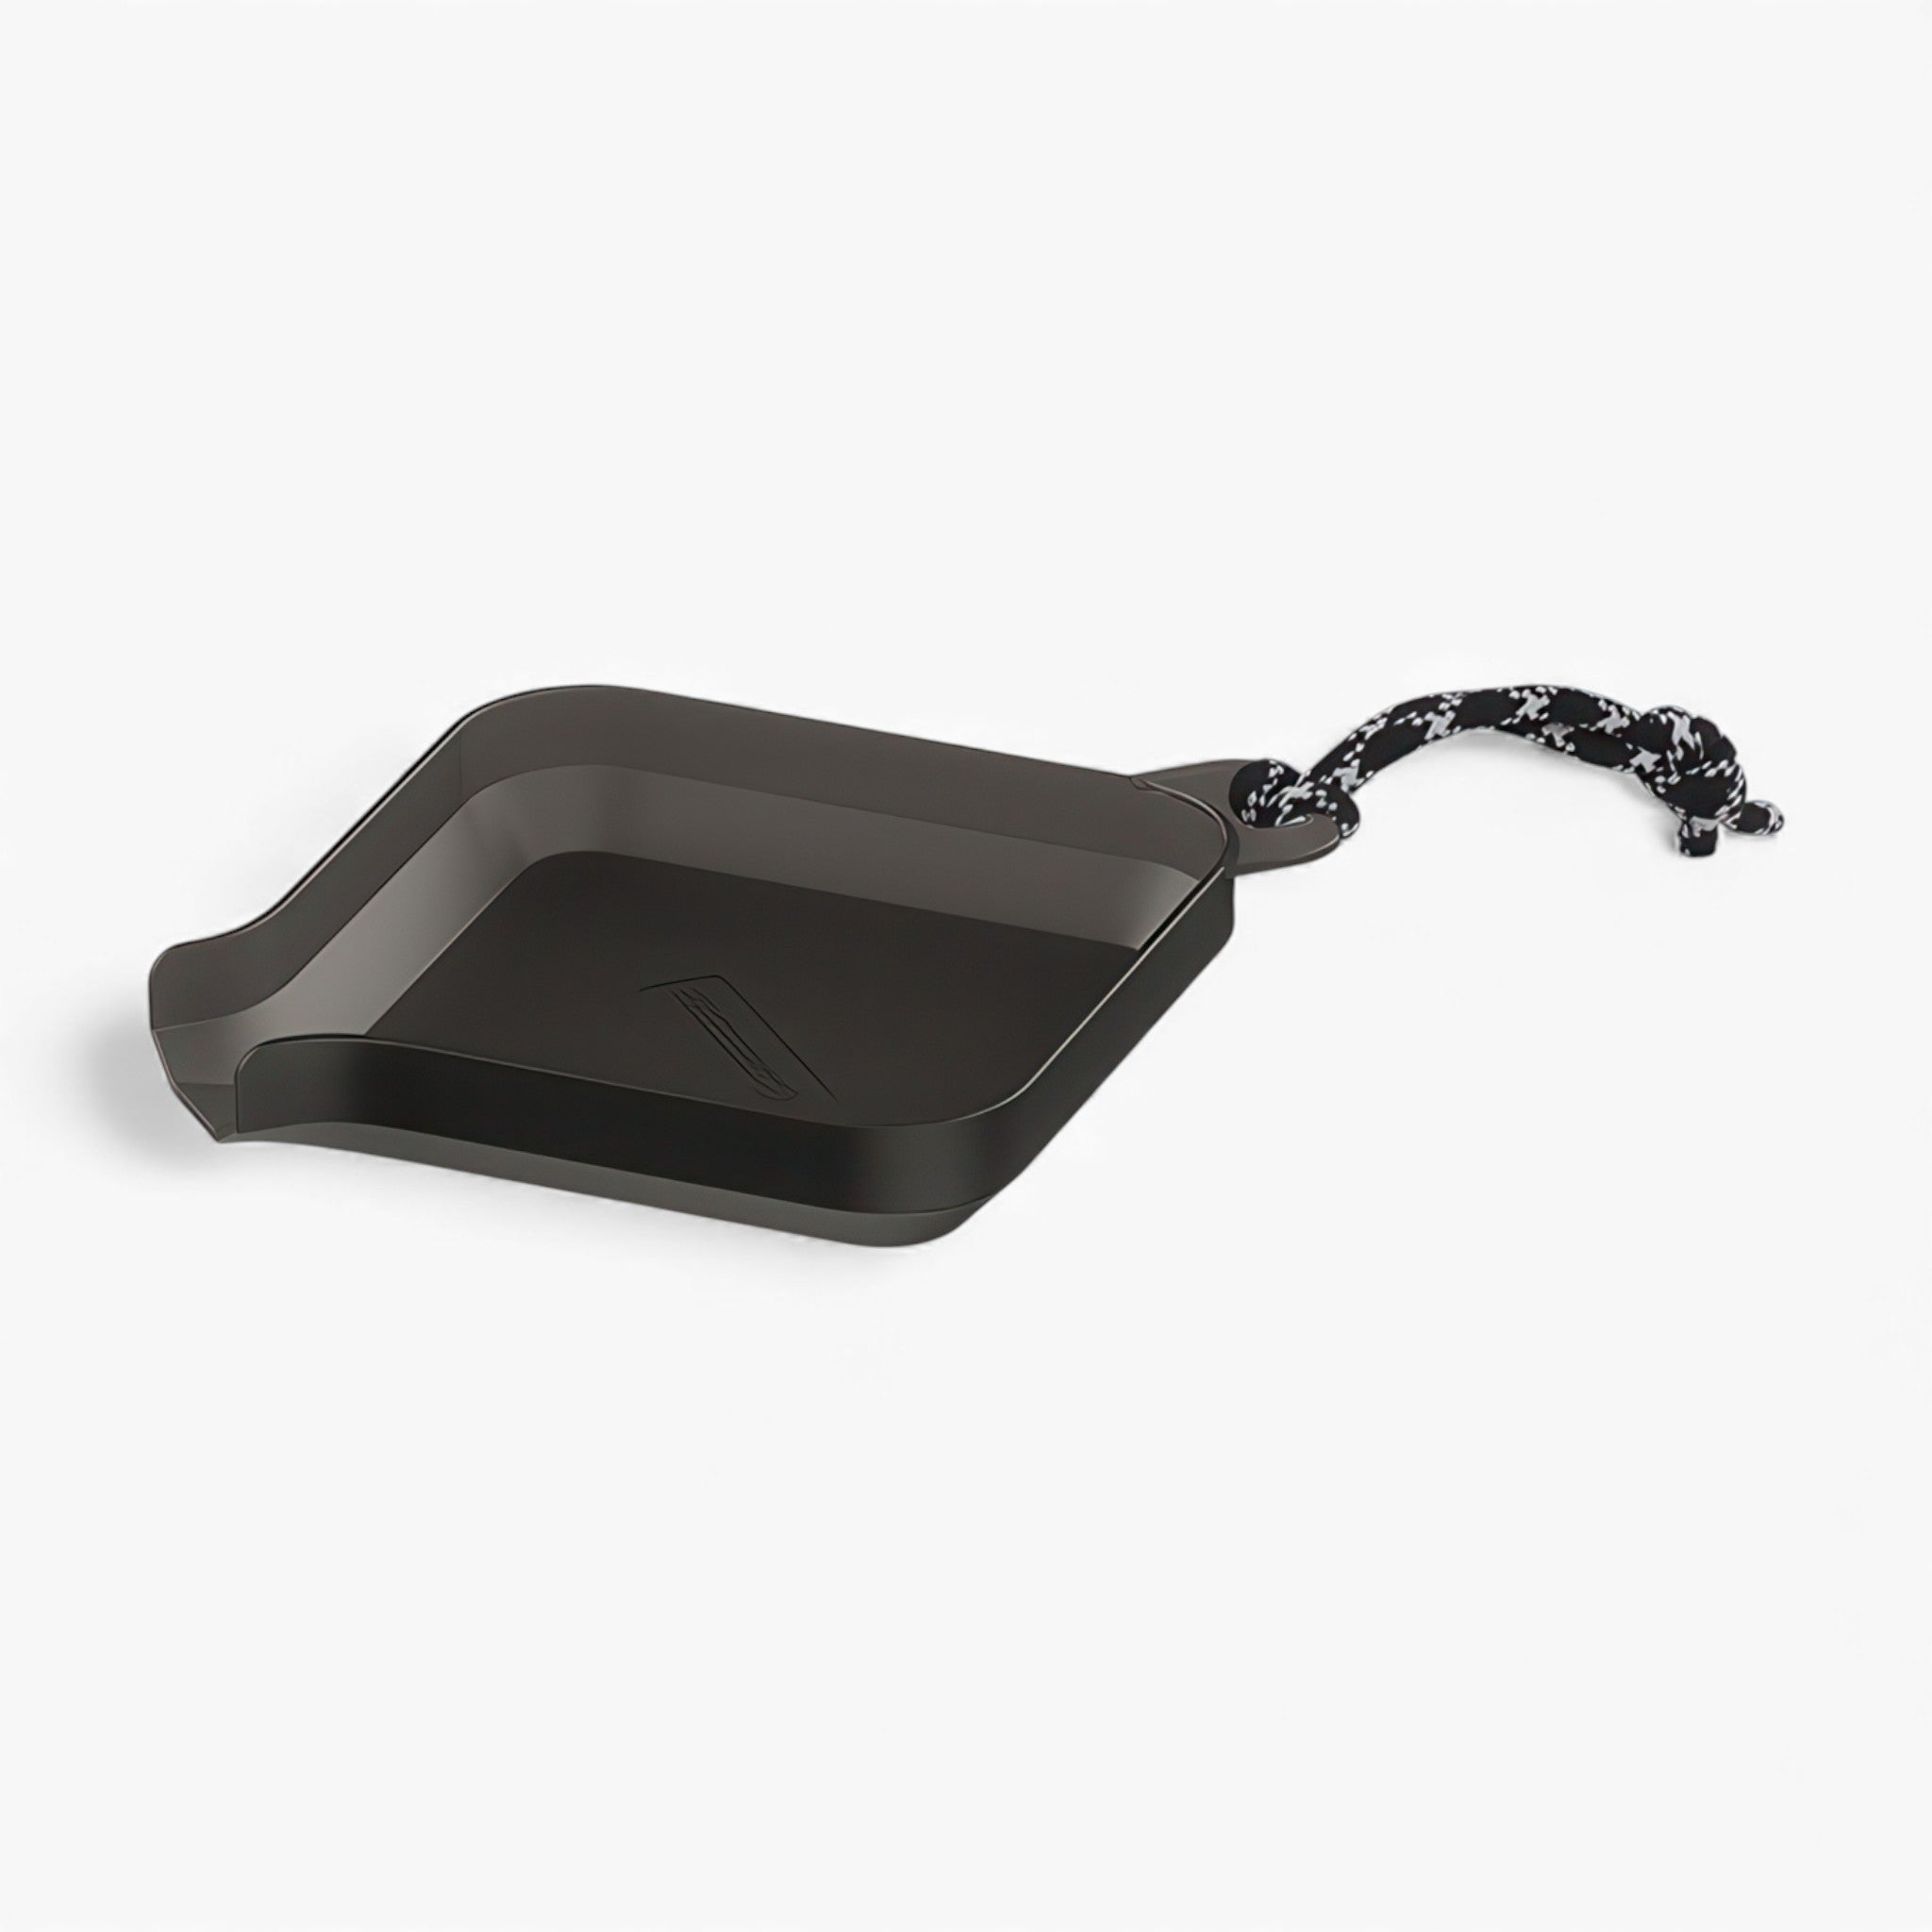
Coffee Bean Weighing Tray with Universal Pour Spout
$24.99
A wide square tray that spreads green or roasted beans into a single layer, making it three times faster to spot defects and ensuring accurate readings on your scale.
Explore ProductBrewing Your Fresh Roast
All your roasting efforts culminate in the brewing process. Freshly roasted coffee requires slightly different approaches than store-bought beans.
Tips for Brewing Home-Roasted Coffee
- Wait for degassing: While tempting, brewing immediately after roasting produces uneven extraction due to excess CO2
- Adjust grind size: Fresh roasts may extract differently than commercial beans; be prepared to dial in your grinder
- Use filtered water: Let your carefully developed flavors shine without interference
- Control temperature: Light roasts often benefit from slightly higher brewing temperatures (205-208°F)
The right brewing equipment makes all the difference. Precision temperature control, consistent pouring, and proper measurement tools transform good coffee into extraordinary experiences.

Creating a dedicated coffee station streamlines your workflow from roasting to brewing. Rethink Cafe specializes in equipping home baristas with professional-grade tools that elevate every stage of the coffee journey.
Essential Tools for Your Roasting Station

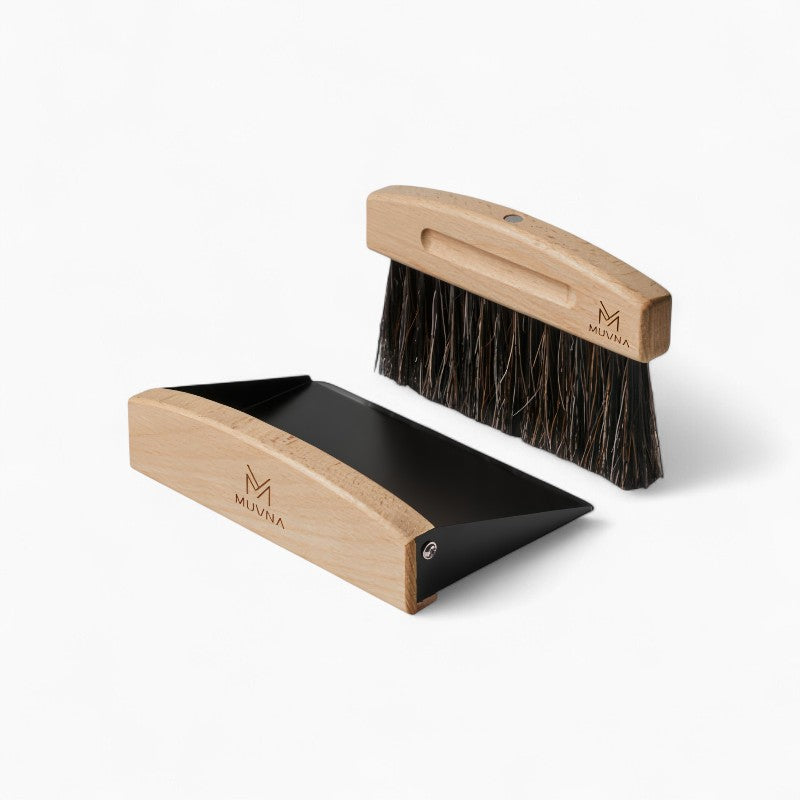
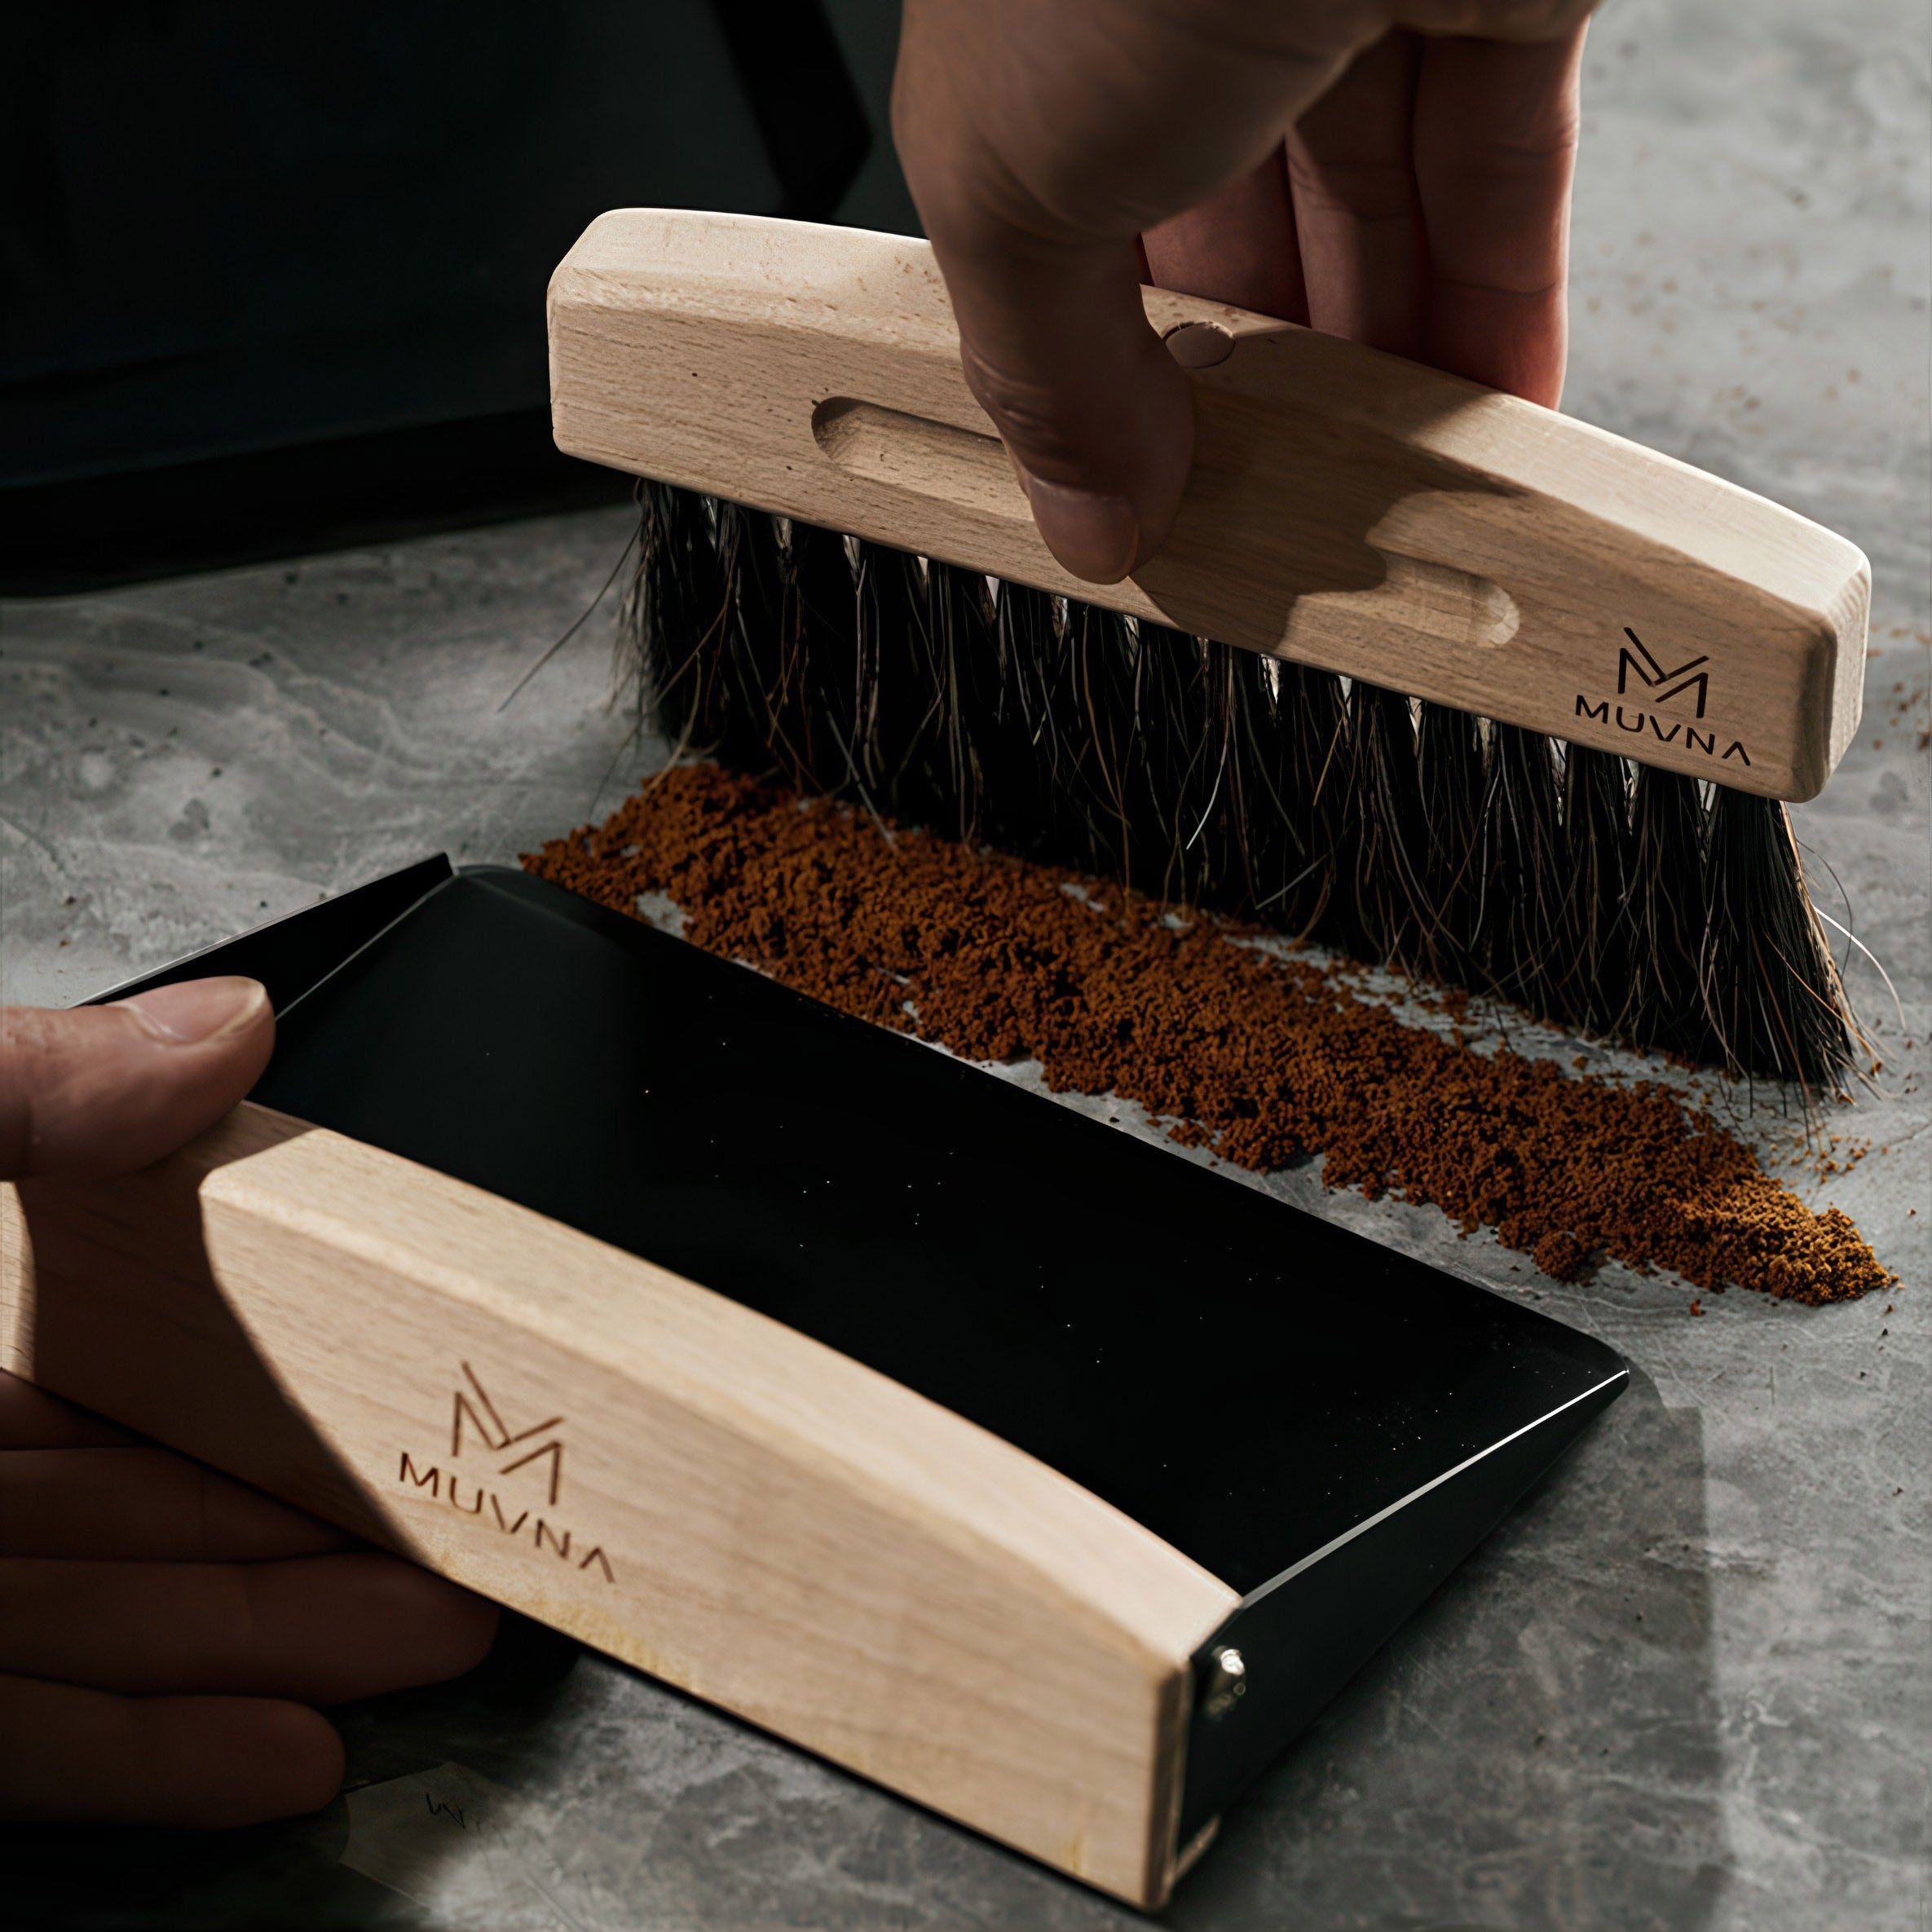
Keep your roasting station spotless with FAS-grade beech wood and natural horse hair bristles - perfect for collecting chaff and debris after roasting. Learn more ➔

Gooseneck Electric Kettle with Temperature Control
$89.99
$109.99
Dial in precise brewing temperatures to extract the best flavor from your freshly roasted beans with one-touch presets and digital temperature display. Learn more ➔
Common Mistakes to Avoid
Even experienced home roasters encounter challenges. Here are pitfalls to sidestep on your roasting journey:
- Rushing the process: Patience yields better results than forcing faster roasts
- Ignoring bean density: Different origins roast differently; adjust your approach accordingly
- Insufficient cooling: Under-cooled beans continue roasting and taste baked
- Roasting too much at once: Small batches allow better heat penetration and consistency
- Neglecting ventilation: Roasting produces smoke; ensure proper airflow or roast outdoors
The beginner coffee roasting journey is as much about learning what not to do as mastering techniques. Every batch teaches you something new about your equipment and preferences.
Conclusion
Learning how to roast coffee beans at home opens a world of flavor exploration that pre-packaged coffee simply cannot match. From understanding the subtle cues of first crack to dialing in your perfect roast level, each batch brings you closer to your ideal cup.
As you progress from beginner to experienced home roaster, remember that exceptional coffee experiences extend beyond the roast itself. The right tools—from precise measurement equipment to professional-grade brewing accessories—help you extract the full potential of every bean you roast.
At Rethink Cafe, we understand the passion that drives home baristas to roast your own coffee beans. Our curated selection of specialty coffee equipment is designed to support your journey from raw green beans to perfectly extracted espresso. Whether you're just beginning your home roasting adventure or looking to upgrade your brewing game, we're here to help you rethink what's possible in your home café.
Frequently Asked Questions about Roasting Coffee at Home
To roast coffee beans at home, you need green coffee beans, a heat source (stovetop, oven, or popcorn popper), a metal colander for cooling, heat-resistant gloves, and airtight storage containers. As you advance, tools like a coffee bean weighing tray and precise measuring equipment from Rethink Cafe will improve consistency and quality.
Home coffee roasting typically takes 8 to 20 minutes depending on your method. Hot air popcorn poppers work fastest (6-8 minutes), while oven roasting takes longer (15-20 minutes). Stovetop pan roasting falls in the middle at 10-15 minutes. The key is listening for first crack, which usually occurs between 8-12 minutes.
First crack is an audible popping sound that occurs when water vapor and pressure cause the coffee bean's cell structure to fracture. Similar to popcorn but less vigorous, it signals the bean has reached a light roast level and marks the beginning of the development phase where roast characteristics are defined.
Yes, pan roasting is one of the most accessible methods for beginners. Use a heavy-bottomed skillet over medium-high heat, add green coffee beans in a single layer, and stir constantly for 10-15 minutes. While it requires attention to avoid uneven roasting, it's an excellent way to learn visual cues for roast development without investing in specialized equipment.
Store freshly roasted coffee in airtight containers with one-way valves that allow CO2 to escape while keeping oxygen out. Keep containers in a cool, dark place, and avoid refrigerating or freezing immediately after roasting. Wait 12-24 hours before brewing to allow degassing, then consume within 2-4 weeks for optimal flavor.