
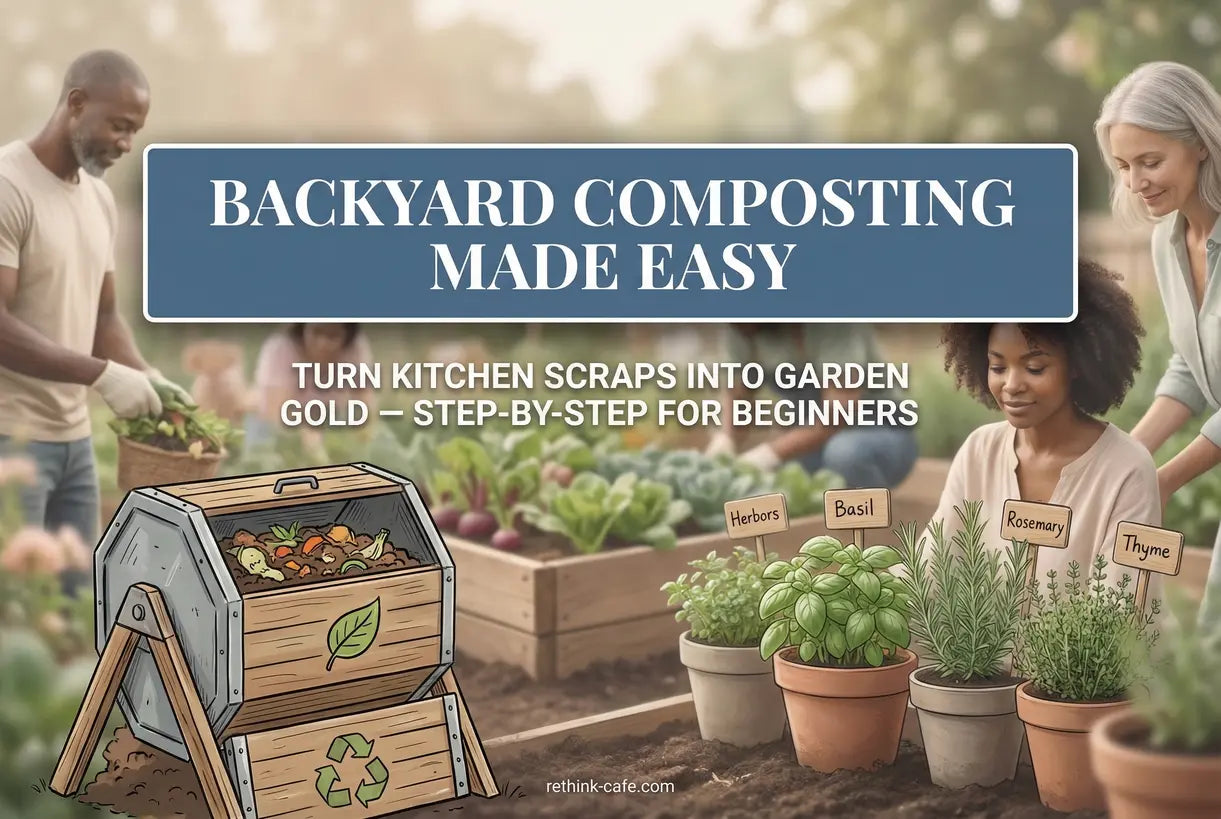
You've probably heard that backyard composting is one of the smartest things you can do for your garden and the planet. Yet when you're standing there with a bucket of kitchen scraps, you might wonder exactly where to start. The truth is, transforming organic waste into nutrient-rich soil isn't complicated—it just requires a simple system and the right approach.
In this beginner composting guide, we'll walk you through everything you need to know, from understanding how composting works to creating your first pile. You'll discover the easiest composting methods, learn what materials to include, and find out how to troubleshoot common problems. Along the way, we'll introduce you to practical tools that can make the process even smoother.
What Is Backyard Composting and How Does It Work?
At its core, backyard composting is nature's recycling system. Microorganisms, fungi, and tiny organisms like earthworms break down organic matter into a dark, crumbly substance called compost. This process mimics the natural decomposition that happens on the forest floor, but in a controlled way that accelerates results.
The magic happens through a balance of four essential ingredients: browns (carbon), greens (nitrogen), water, and air. When these elements combine properly, temperatures in a compost pile can reach 130-160°F, killing pathogens and weed seeds while speeding up decomposition.

The Easiest Composting Methods for Beginners
Not all home composting approaches are equal in complexity. For those just starting out, some methods require less maintenance and deliver more reliable results.
Tumbling Compost Bins
Tumbling compost bins sit on a frame and rotate, making aeration as simple as turning a handle. This eliminates the backbreaking work of manual turning and significantly speeds up decomposition. The enclosed design also keeps pests out and retains moisture better than open piles.
Worm Composting (Vermicomposting)
Perfect for apartment dwellers or those with limited outdoor space, worm composting uses red wiggler worms to process kitchen scraps into concentrated worm castings—often called "black gold" by gardeners. This method works entirely indoors and produces virtually no odor when managed correctly.
Hot vs. Cold Composting
Hot composting requires more frequent turning and careful balancing of carbon and nitrogen, but delivers finished compost in 6-8 weeks. Cold composting is a passive approach where you simply pile materials and let nature do the work over 6-12 months. Most beginners find success starting with a hybrid approach—or using a tumbling bin that encourages hot composting without the manual labor.

The 12-Gallon Tumbling Compost Bin eliminates many common beginner frustrations. Its enclosed design prevents pests while the rotating drum makes turning effortless, creating the aeration needed for faster decomposition.
Setting Up Your First Compost Pile: A Step-by-Step Approach
- Choose your location: Select a spot that's convenient to access year-round but far enough from windows to avoid any potential odor concerns. Partial shade helps prevent excessive drying.
- Start with browns: Lay down 4-6 inches of dry, carbon-rich materials like fallen leaves, shredded newspaper, or cardboard. This absorbs excess moisture from food scraps.
- Add your greens: Layer in fruit and vegetable scraps, coffee grounds, grass clippings, and other nitrogen-rich materials. Aim for roughly three parts browns to one part greens.
- Keep it moist: Your pile should feel like a wrung-out sponge—damp but not soggy. Add water gradually during dry spells.
- Aerate regularly: Turn your pile weekly to introduce oxygen and speed up the process. This is where the right tools make a significant difference.
- Monitor and wait: Check moisture levels and temperature periodically. With proper conditions, you'll be harvesting compost sooner than you think.

What Can and Can't Be Composted in a Backyard Pile
Understanding what goes into your compost bin is crucial for success. The wrong materials can attract pests, create odors, or even contaminate your finished compost.
Green Materials (Nitrogen-Rich)
- Fruit and vegetable scraps (avoid excessive citrus)
- Coffee grounds and filters
- Eggshells (crush them first)
- Fresh grass clippings
- Plant trimmings
- Tea bags (remove staples)
Brown Materials (Carbon-Rich)
- Dried leaves
- Shredded newspaper and cardboard
- Dry grass and plant stalks
- Sawdust (untreated wood only)
- Straw and hay
Materials to Avoid
- Meat, fish, and dairy products
- Oils and greasy foods
- Pet waste
- Charcoal ash
- Treated wood or sawdust
- Diseased plants
How Long Does It Take to Make Compost at Home?
The timeline for finished compost varies dramatically based on your method, maintenance, and local climate conditions.
Hot composting with regular turning: 6-8 weeks
Tumbling bins with proper management: 2-3 months
Cold composting (set it and forget it): 6-12 months
Worm composting: 3-4 months
Temperature plays a major role. The microorganisms that drive decomposition work fastest between 100-140°F. During winter months in colder climates, the process naturally slows. You can extend your composting season by insulating your bin or choosing an enclosed tumbling system that retains heat better than open piles.

Troubleshooting: How to Fix a Smelly or Slow Compost Pile
Even the most well-intentioned compost piles sometimes need intervention. Here are solutions to the most common problems beginners face.
If Your Compost Smells Bad
Ammonia or rotten odors typically signal too much nitrogen and not enough air. Mix in generous amounts of dry browns like leaves or shredded newspaper. If using a tumbling bin, give it several extra rotations to introduce oxygen. Check that your pile isn't waterlogged—if it's soggy, add dry materials and turn more frequently.
If Your Compost Isn't Breaking Down
Slow decomposition usually means one of three things: the pile is too dry, too low in nitrogen, or lacking air. Check moisture first—summer heat can rapidly dry out piles. Add water if it feels dry, or cover your bin during hot weather. If moisture is fine, increase your green materials. For stubborn slow piles, invest in a quality aerator tool to make turning less of a chore.
Expand Your Composting Toolkit
For apartments or homes with limited outdoor space, the Worm Composting Starter Kit provides everything needed to start vermicomposting immediately. When your pile needs revitalizing, the Compost Aerator Tool makes quick work of introducing oxygen where it's needed most.
What Are the Benefits of Composting for My Garden?
The rewards of composting extend far beyond waste reduction. When you incorporate finished compost into your garden, you're adding a substance that transforms soil quality in multiple ways.
Compost improves soil structure, helping clay soils drain better and sandy soils retain moisture. It introduces beneficial microorganisms that support plant health and suppress soil-borne diseases. The slow-release nutrients in compost feed plants throughout the growing season without the risk of chemical fertilizer burn.
Perhaps most importantly, composting closes the loop in your personal ecosystem. Food scraps that might otherwise release methane in landfills become the foundation for next season's vegetables and flowers. It's a transformation that benefits your immediate environment while contributing to broader environmental health goals.
According to the U.S. Environmental Protection Agency, yard trimmings and food waste together account for over 30 percent of household waste. Composting diverts this material from landfills while creating something truly valuable for your garden.
Start Your Composting Journey Today
Backyard composting is one of those rare activities that delivers immediate satisfaction and long-term rewards. With just a simple bin, some basic knowledge, and a willingness to learn, you can transform kitchen waste into garden gold. The process becomes second nature faster than you might expect, and the results speak for themselves in healthier plants, richer soil, and the satisfaction of treading more lightly on the planet.
Whether you choose a space-efficient tumbling bin, an indoor worm composting system, or an open pile in your garden corner, the key is to begin. The best composting method is the one you'll actually use consistently. Now you're equipped with the knowledge—it's time to turn waste into something wonderful.
Frequently Asked Questions about Backyard Composting
Backyard composting is the natural process of recycling organic waste into nutrient-rich soil amendment. Microorganisms break down kitchen scraps and yard waste through a controlled decomposition process that requires a balance of carbon (browns), nitrogen (greens), water, and oxygen. This creates compost, a dark, crumbly material that enriches garden soil and supports plant growth.
The easiest composting methods for beginners include tumbling compost bins, which require minimal turning effort and keep pests out; enclosed bin systems that simplify maintenance; and worm composting (vermicomposting) for small spaces. Cold composting is also beginner-friendly—you simply pile materials and let nature do the work over time, though it takes longer than active methods.
In a well-managed hot composting system, you can produce finished compost in 6-8 weeks. Tumbling bins typically yield compost in 2-3 months with regular turning. Passive cold composting takes 6-12 months. Worm composting generally produces castings in 3-4 months. Factors affecting timeline include temperature, moisture, turning frequency, and the balance of carbon and nitrogen materials.
You can compost fruit and vegetable scraps, coffee grounds, eggshells, grass clippings, leaves, shredded paper, and plant trimmings. Avoid composting meat, fish, dairy, oils, pet waste, charcoal ash, treated wood, and diseased plants. These materials can attract pests, create odors, or introduce harmful substances to your compost.
For smelly compost, add dry brown materials like leaves or shredded newspaper and turn the pile to introduce oxygen—bad smells usually mean too much nitrogen and not enough air. For slow decomposition, check moisture (it should feel like a wrung-out sponge), add nitrogen-rich greens if materials aren't breaking down, and aerate more frequently. Maintaining the proper 3:1 ratio of browns to greens solves most common issues.
Compost improves soil structure, drainage, and moisture retention while introducing beneficial microorganisms that support plant health. It provides slow-release nutrients that feed plants throughout the growing season without chemical burn risk. Compost also helps suppress soil-borne diseases and reduces the need for synthetic fertilizers—plus it's completely free to make once you have a system established.