
You've invested in quality beans, a precision burr grinder, and studied the perfect pour technique. Yet somehow, your pour over coffee still tastes flat, sour, or bitter. The culprit might not be your technique at all—it could be something as fundamental as water temperature for pour over coffee. This often-overlooked variable plays a massive role in extraction, determining whether you unlock the full flavor potential of your beans or leave it trapped in the grounds.
Whether you're a seasoned home barista chasing the perfect cup or just beginning your manual brewing journey, understanding the ideal temperature range transforms your daily ritual from guesswork into science. In this guide, you'll discover the exact temperature sweet spot that professionals swear by, learn how different roast levels demand different approaches, and explore precise tools that eliminate temperature uncertainty forever.
The Science Behind the Ideal Pour Over Temperature
Coffee extraction is a delicate chemical dance. Water that's too hot scorches the grounds, releasing harsh, bitter compounds. Water that's too cool under-extracts, leaving you with a sour, thin cup lacking depth. The consensus among specialty coffee professionals is clear: the best temperature for pour over coffee falls between 200-205°F (93-96°C).
This range offers the optimal balance for dissolving desirable flavor compounds while minimizing the extraction of bitter oils. The Specialty Coffee Association recommends 200°F as the standard starting point, but many experienced baristas find pushing toward 205°F yields brighter, more complex cups—especially with certain roast profiles.
What makes this temperature window so magical? At 200°F and above, water molecules have enough kinetic energy to efficiently penetrate coffee cell structures and dissolve soluble solids. Below this threshold, extraction slows dramatically. Above 205°F, you risk burning delicate aromatics and extracting excessive tannins that muddy your cup's clarity.
How Roast Level Changes Your Target Temperature
Here's where pour over temperature gets nuanced. Not all beans respond equally to the same heat. The roasting process fundamentally alters coffee's cell structure, density, and solubility—meaning your ideal water temp should adapt to what you're brewing.
Light Roasts: Turn Up the Heat
Light roasted coffees retain more of their original cellular structure. They're denser, harder, and less porous than darker counterparts. This means they require more aggressive extraction parameters to unlock their full flavor potential.
For light roasts, aim for 205-212°F (96-100°C). The higher temperature compensates for the bean's density, helping water penetrate deeper into the cellular matrix and extract those bright, acidic notes and floral aromatics that make light roasts special. If you're brewing a fruity Ethiopian or floral Kenyan and finding it tastes grassy or sour, chances are your water temp for light roast isn't hot enough.
Medium Roasts: The Sweet Spot
Medium roasts offer the most forgiveness. The beans have expanded and become more porous during roasting, making extraction easier while still preserving complex flavor compounds. This is where that standard 200-205°F (93-96°C) range truly shines.
Start at 202°F and adjust based on taste. Medium roasts offer the perfect canvas for dialing in your technique—responsive enough to show adjustments but stable enough to forgive minor temperature fluctuations.
Dark Roasts: Cool Down for Smoothness
Dark roasted beans undergo significant structural breakdown during roasting. They're highly porous, brittle, and extract much more readily than lighter options. Using water that's too hot on a dark roast is a fast track to a bitter, burnt-tasting cup.
For dark roasts, dial back to 195-200°F (90-93°C). The cooler temperature slows extraction just enough to capture the rich, chocolatey, caramel notes while leaving the harsh, smoky bitterness in the grounds. If your French Roast tastes like ash, your water temp for dark roast is likely too high.
Precision Tools for Temperature Control
The gap between a good cup and an exceptional one often comes down to measurement precision. Eyeballing water temperature or waiting for your kettle to whistle leads to inconsistent results. For home baristas serious about repeatable excellence, a dedicated thermometer removes all uncertainty.

Stainless Steel Coffee Dial Thermometer for Espresso
$17.90 $55.00
Eliminate temperature guesswork with this analog dial thermometer. Reads in just 3 seconds with dual Celsius and Fahrenheit scales - perfect for dialing in your pour over water temperature every time.
Explore ProductThe Stainless Steel Coffee Dial Thermometer offers instant readings in both Celsius and Fahrenheit, letting you verify your water hits the exact ideal temperature for pour over coffee before you begin your bloom. Its analog design means no batteries to fail during your morning ritual, and the stainless steel construction withstands daily use in any kitchen environment.
Visual Guide to Temperature Techniques
Sometimes watching a technique crystallizes understanding better than reading about it. This comprehensive video demonstrates temperature control fundamentals while showing proper pouring technique that maximizes extraction at your target heat level.

Measuring Temperature Without Fancy Equipment
Not ready to invest in a dedicated pour over coffee thermometer? You can achieve surprisingly accurate results with basic kitchen equipment and a few simple techniques.
The most accessible method uses a standard kitchen thermometer. Bring water to a boil in any kettle, then remove from heat and wait. At sea level, water cools from boiling to 200°F in approximately 30-45 seconds. This varies by altitude and volume, but it provides a reasonable starting point.
For those without any thermometer, the bubble method offers a rough guide. Water at 200°F produces small, pearl-sized bubbles that rise slowly from the bottom of the pot—not the violent rolling boil that occurs at 212°F. Look for fish-eye bubbles, roughly 4-5mm in diameter, forming steadily but gently.
However, consistency matters more than perfection. If you use the waiting method, time it precisely every brew. If you use visual cues, look for the same bubble pattern each time. Manual brewing rewards repeatability, and even basic temperature control beats none at all.

Perfecting Your Pour Over Setup
While manual measurement techniques work, electric kettles with temperature control fundamentally change your brewing consistency. Imagine never again guessing whether your water is too hot or too cool—simply set your target temperature and let technology handle the precision.
Elevate Your Temperature Control

Gooseneck Electric Kettle with Temperature Control
$138.90
$255.00
Dial in exact water temperature with degree-level precision. Six preset temperatures and real-time digital display ensure your pour over hits the sweet spot every brew. Learn more ➔

Complete Pour Over Coffee Kit with Grinder and Kettle
$235.90
$360.00
Everything you need for temperature-controlled brewing in one kit. Features a temperature control gooseneck kettle with 3-second response time for consistently perfect extractions. Learn more ➔
The Gooseneck Electric Kettle with Temperature Control eliminates the guesswork entirely. With degree-level precision and six preset temperatures, you can program exactly 202°F for your medium roast or 198°F for that dark roast you've been meaning to try. The real-time digital display shows exactly when your water reaches target temperature, and the hold function maintains it for up to an hour—perfect for weekend mornings when you want multiple cups.
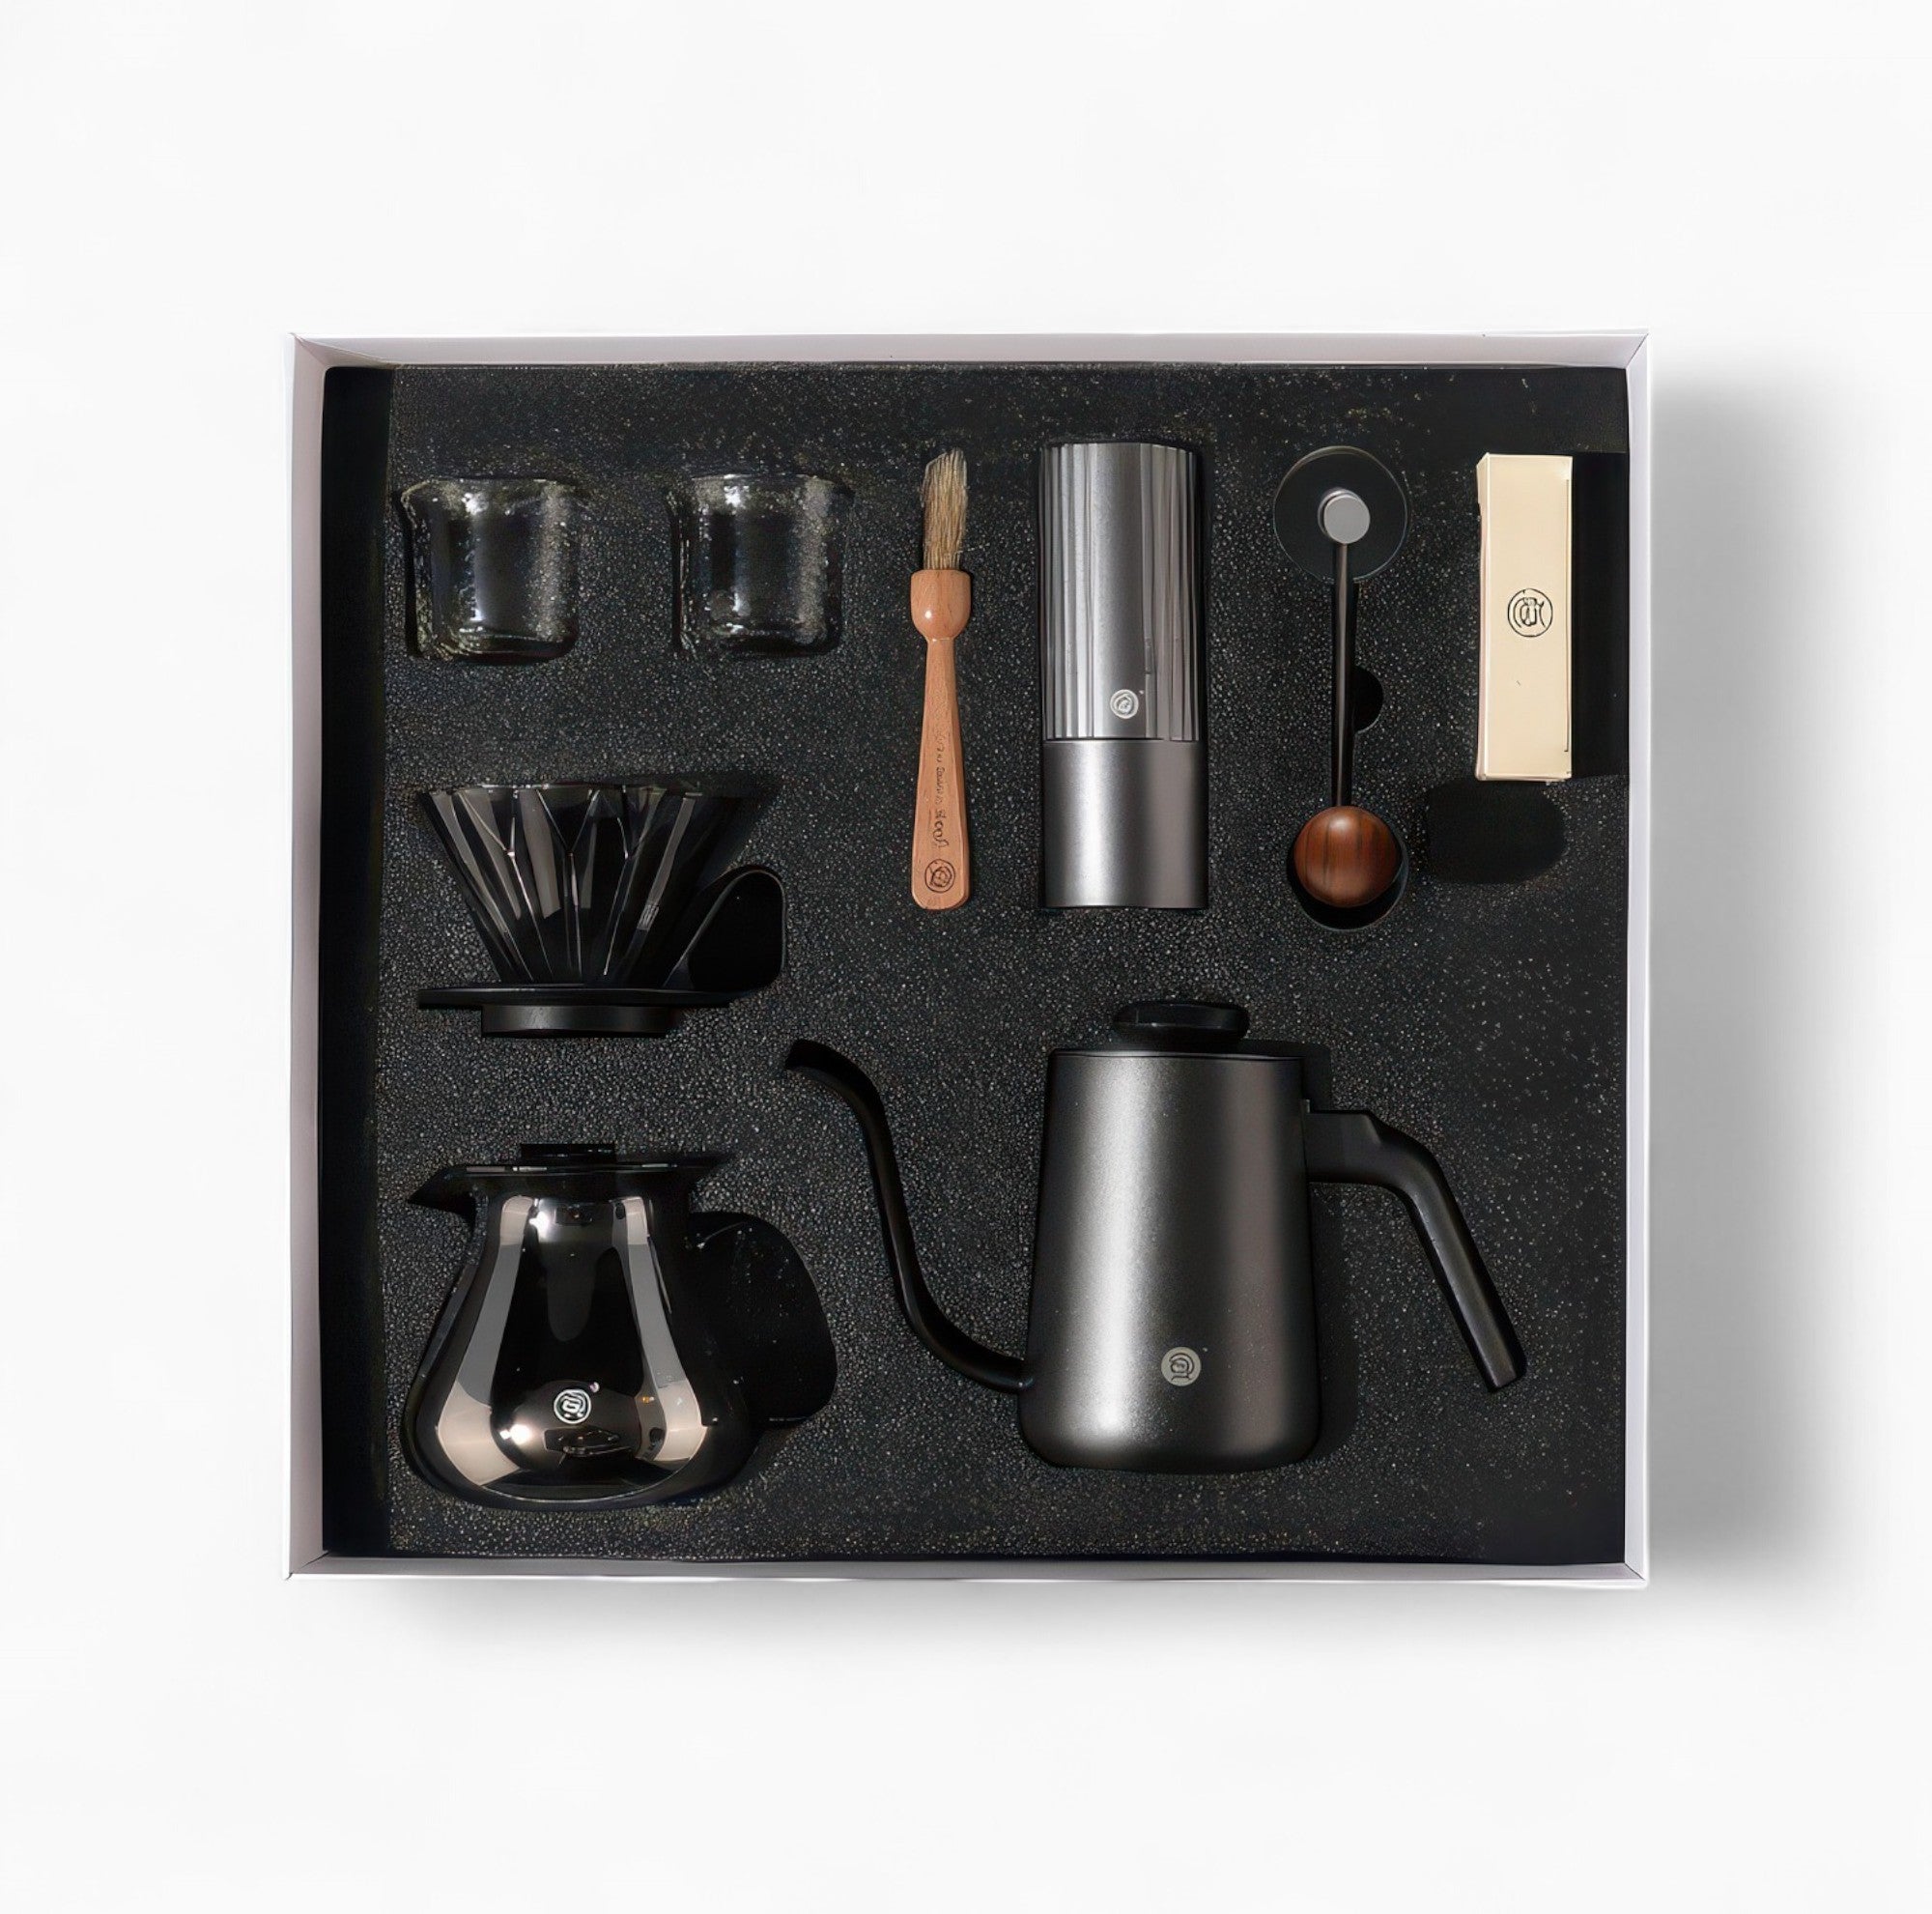
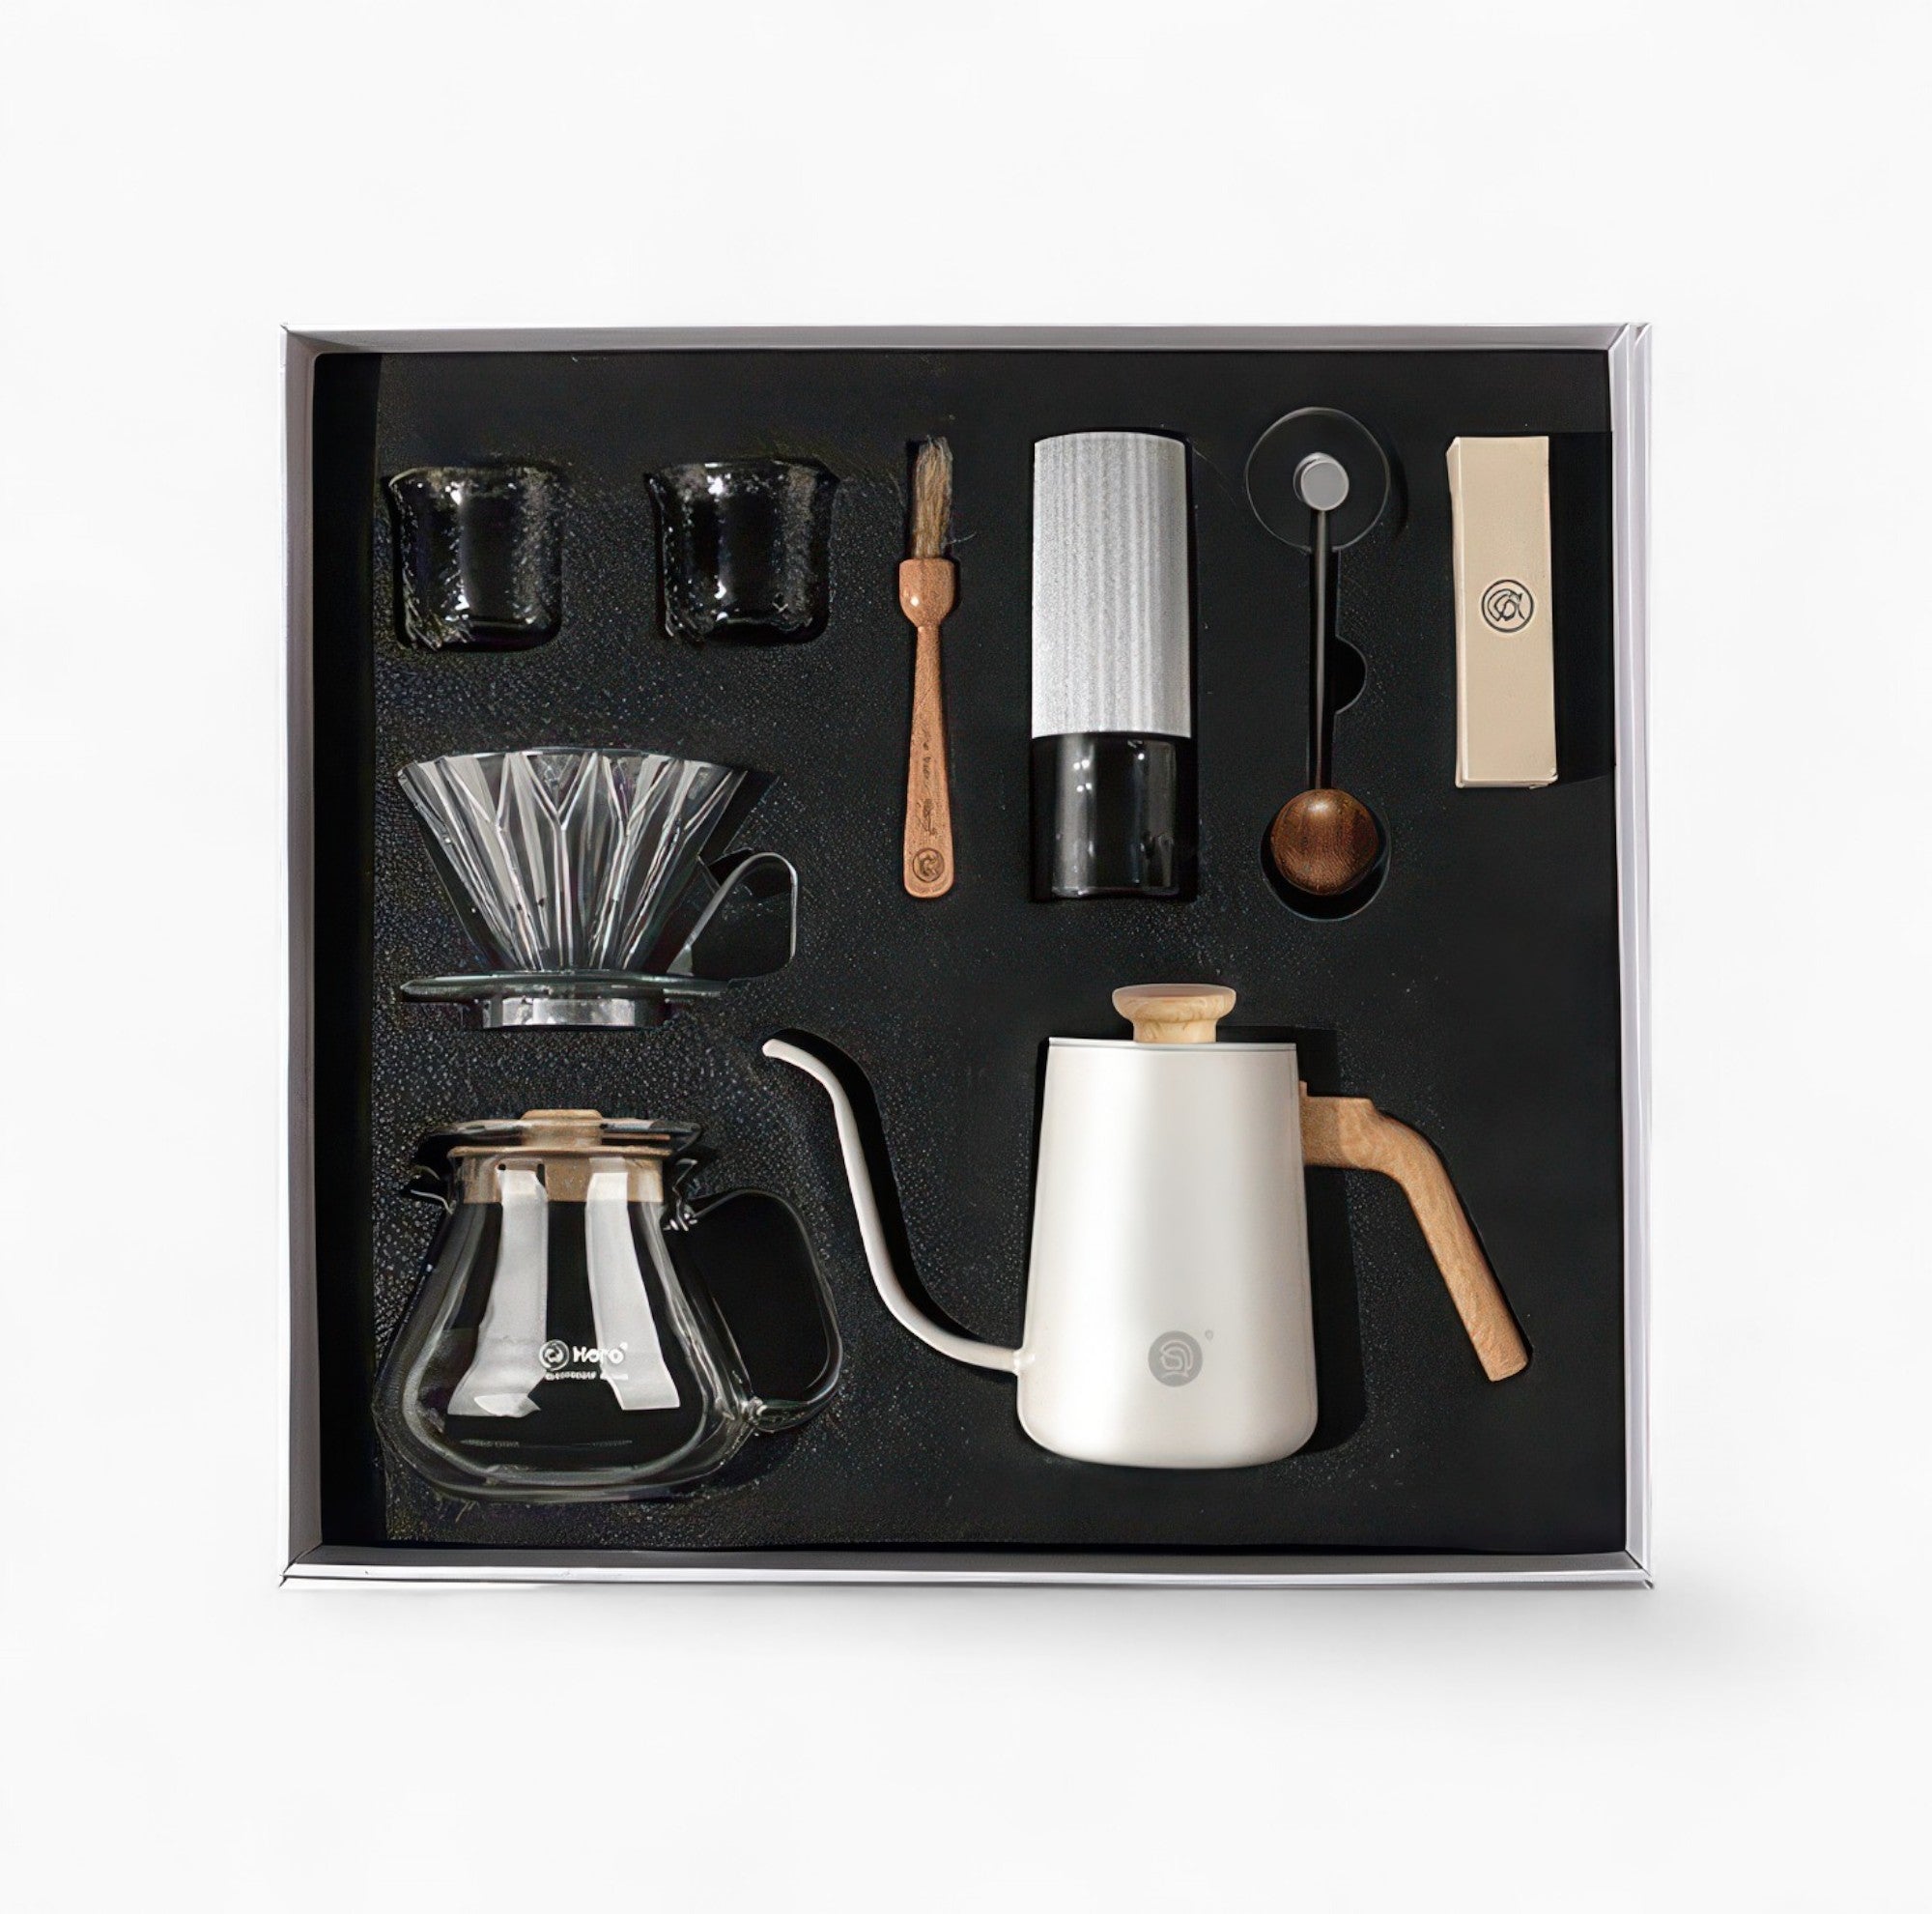
For those building their home barista setup from scratch, the Complete Pour Over Coffee Kit with Grinder and Kettle bundles everything needed for temperature precision. The included kettle's 3-second response time means no more waiting and wondering—heat, pour, and extract with confidence knowing every variable is optimized.

Conclusion: Temperature as Your Brewing Advantage
Mastering water temperature for pour over coffee transforms inconsistent results into repeatable excellence. The knowledge that light roasts crave heat near boiling while dark roasts shine at gentler temperatures gives you control over your extraction that most home brewers never achieve. Remember: 200-205°F is your foundation, but don't fear moving higher or lower based on what your taste buds tell you.
The difference between good coffee and exceptional coffee often comes down to the details. Temperature is one variable you can control with precision—and when you do, every other aspect of your technique shines brighter. At Rethink Cafe, we believe the pursuit of the perfect cup shouldn't require coffee shop equipment budgets or professional training. Whether you choose the analog reliability of a dial thermometer or the digital precision of a temperature-controlled kettle, the right tools make perfect temperature accessible to every home barista.
Your beans traveled thousands of miles and went through countless careful processes to reach your grinder. Don't let improper water temperature be the weak link in that chain. Measure precisely, adjust intelligently based on roast level, and taste the difference that 5 degrees can make.
Frequently Asked Questions About Water Temperature for Pour Over Coffee
The ideal water temperature for pour-over coffee is between 200-205°F (93-96°C). This range provides optimal extraction for most medium roasts. Light roasts benefit from slightly hotter water at 205-212°F, while dark roasts extract best at slightly cooler temperatures between 195-200°F. Starting at 200°F and adjusting based on taste is the best approach for most home baristas.
The 80/20 rule (also known as the Pareto Principle applied to coffee) suggests that 80% of your coffee's quality comes from 20% of your variables. This typically means focusing on the fundamentals: water temperature, grind size, and coffee-to-water ratio. Getting these core elements right yields dramatically better results than obsessing over minor details. For pour over brewing, water temperature is one of those critical 20% factors that delivers disproportionate results.
The 15-15-15 rule is a simplified guideline for brewing coffee: 15 grams of coffee, 15 ounces of water, and a 15-second window for optimal bloom time after the initial pour. While not as precise as professional recipes, this rule provides beginners with an easy-to-remember starting point. However, temperature control remains independent of this rule—you'll still want to maintain that 200-205°F range regardless of whether you follow the 15-15-15 method.
When brewing a new coffee for the first time, start at 200°F (93°C) as your baseline. If you know the roast level, adjust: use 205-208°F for light roasts, 200-203°F for medium roasts, and 195-200°F for dark roasts. After your first cup, taste and adjust for the next brew—if it's sour or under-extracted, increase temperature by 2-3 degrees. If bitter or over-extracted, decrease by the same amount. Keep notes on what works best for each bean.
Without a thermometer, bring water to a full boil then remove from heat. Wait 30-45 seconds for it to cool to approximately 200-205°F. Visually, look for "fish-eye" bubbles—small, pearl-sized bubbles about 4-5mm in diameter that rise slowly rather than a violent rolling boil. You can also use the touch test: water at 200°F will produce immediate steam and feel intensely hot but won't cause instant burns like boiling water (though caution is always advised). For consistency, time your cooling period exactly each brew.